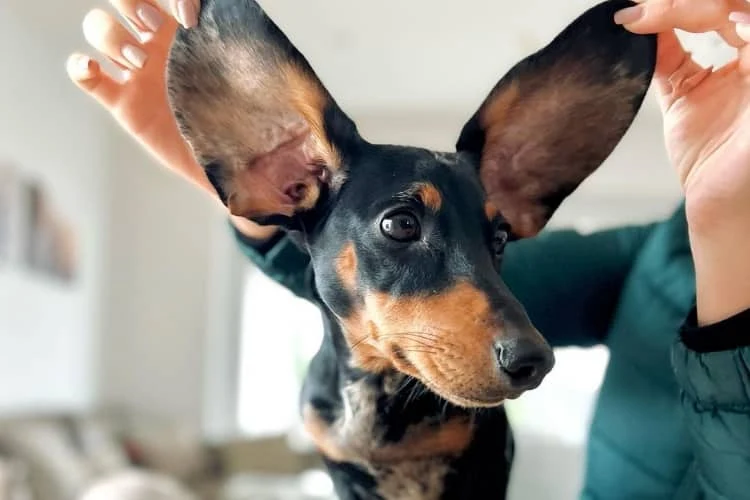
Taking care of your furry friend involves more than just food, affection, and exercise—ear hygiene is just as important. Regular ear cleaning is essential for preventing infections, discomfort, and long-term health issues. Plus, it’s a great way to bond with your pup! In this guide, we’ll walk you through safe and effective steps to keep your dog’s ears clean and healthy.
Step 1: Gather the Right Supplies
Before starting, make sure you have everything ready to avoid unnecessary stress. Here’s what you’ll need:
- A dog-specific ear cleaning solution (never use human products)
- Cotton balls or soft gauze pads
- Towels (for mess control)
- Treats (to keep things positive)
Using pet-safe products helps protect your dog’s sensitive ears and ensures a safer experience.
Step 2: Set Up a Calm Environment
Choose a quiet, comfortable space where your dog feels safe. If possible, have someone assist you by gently holding your dog. Use positive reinforcement—treats, praise, or even playtime—to make the process more enjoyable.
Step 3: Apply the Ear Cleaning Solution
Lift your dog’s ear and squeeze in enough cleaning solution to fill the ear canal. Gently massage the base of the ear for 20–30 seconds. This breaks up wax and debris while soothing your dog with the massaging motion.
Read also: Hydrogen Peroxide for Dog's Ears: Pros, Cons & Veterinary Insights
Step 4: Let Your Dog Shake It Out
After massaging, give your dog a moment to shake their head. This natural action helps remove loosened debris and excess liquid. Stand back—or have a towel ready!
Step 5: Gently Wipe Away Debris
Use a cotton ball or gauze pad to carefully clean the visible part of the ear. Never insert anything deep into the ear canal. Only clean what you can easily reach.
Step 6: Repeat and Maintain a Regular Cleaning Schedule
Repeat the process for the other ear. Establish a regular cleaning schedule—typically once a month for most dogs. Dogs with long or floppy ears, allergies, or a history of infections may need more frequent care. Always check with your veterinarian for personalized advice.
Conclusion
By following these steps, you’ll help ensure your dog’s ears stay clean, healthy, and infection-free. Regular ear care is a simple yet powerful way to improve your pup’s comfort and overall well-being—and to strengthen your bond. Your dog will thank you with a wagging tail and happy ears!

